How to Schedule a 1:1 Meeting
Functionalities and names of Menu Items may vary on certain platforms. For specific instructions, contact the event organizers directly or submit a Help Request to your event organizer. [How to Submit Help Request to Your Event Organizer]
Scheduling a 1:1 Meeting on a Converve event platform can be completed in a few easy steps. Start out by viewing the list of attendees [How to Look Up, View and Navigate Attendee Profiles] to determine whom you would like to schedule a meeting with.
Steps
1. Log in to the event platform using your login credentials [How to Log In], as registered in the system (email address and password).
2. There are three ways to pull up lists of attendees to request meetings from – from the Attendees Page, the Bookmarks Page or My Agenda Page.
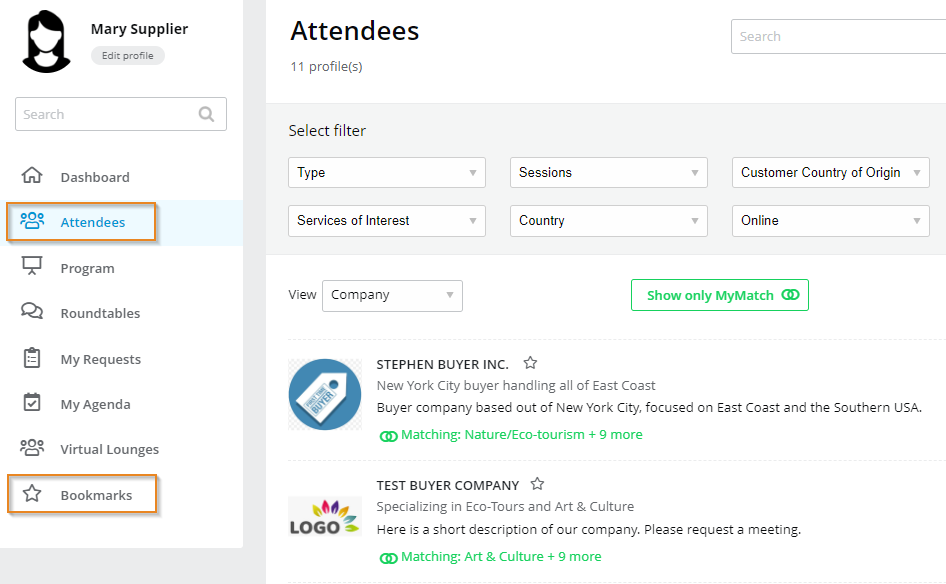
2.1 Attendees Page: From the Dashboard left-hand menu, click Attendees to open a page with a list of Attendee Profiles [How to Look Up, View and Navigate Attendee Profiles].
2.2 Bookmarks Page: If you have Bookmarked attendees ahead of time [How to Bookmark an Attendee], click Bookmarks from the Dashboard menu, to display your bookmarked attendee short-list.
 |
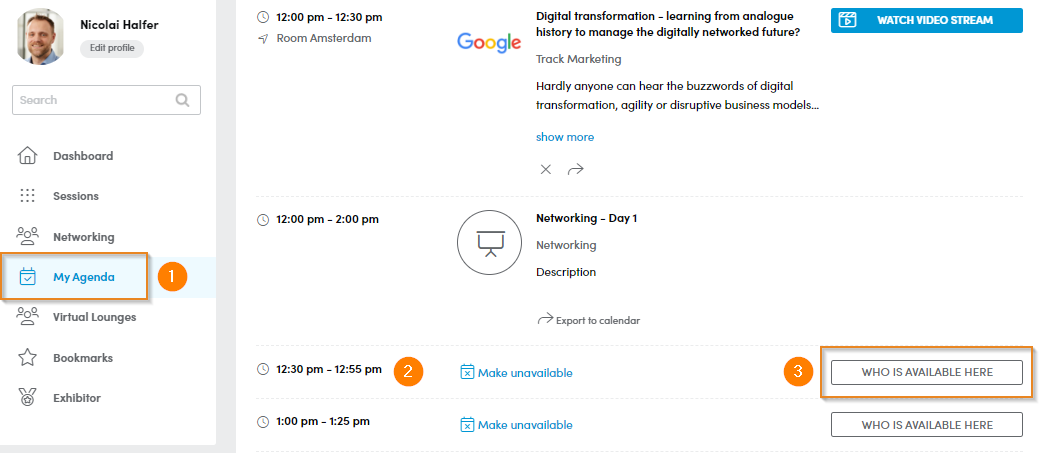
2.3 My Agenda Page: From the Dashboard menu, click My Agenda [My Agenda - Features and Functionalities], to open your personal schedule. Look for an open meeting slot, then click Who Is Available Here to display a list of available Attendees.
 |
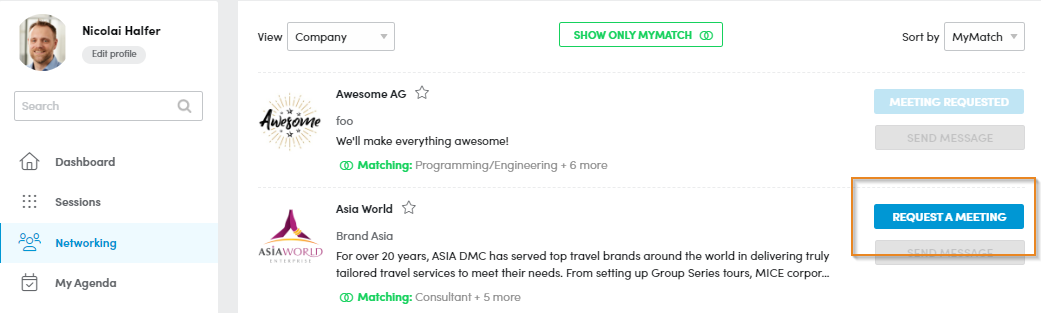
3. From list of attendees, scroll to locate the attendee whom you would like to request a meeting with, then click Request a Meeting.
 |
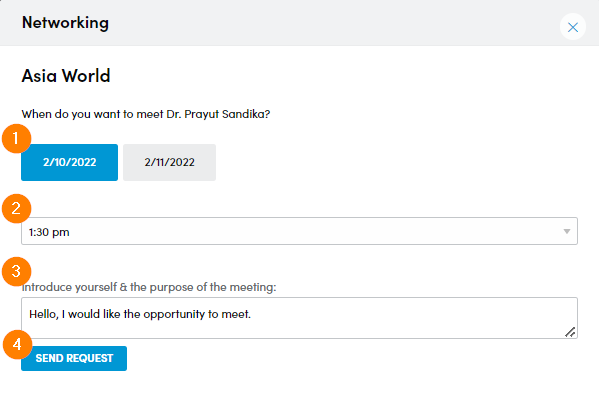
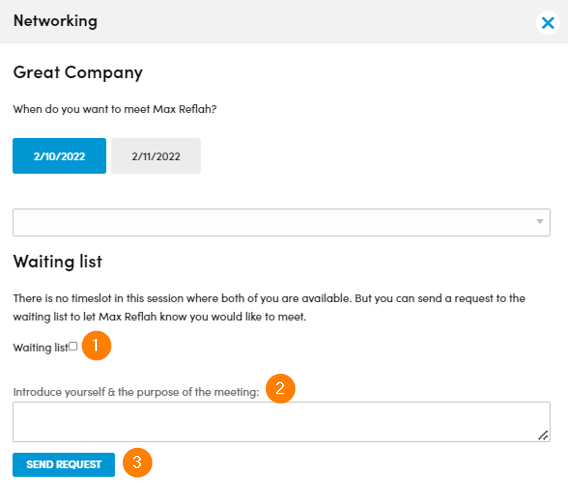
4. Find a mutual open time slot by completing the Meeting Request Form.
4.1 Click the appropriate top Date Tab
4.2 Select an available Timeslot from the pull-down menu.
4.3 Enter a Brief Message to go along with your request.
4.4 Click Send Request
 |
5. If there are no mutual open time slots available, you may send your request to a Waiting List by checking the Waiting List Box, entering a brief message, then clicking Send Request. [My Agenda - Features and Functionalities]
 |
6. Incoming Requests:
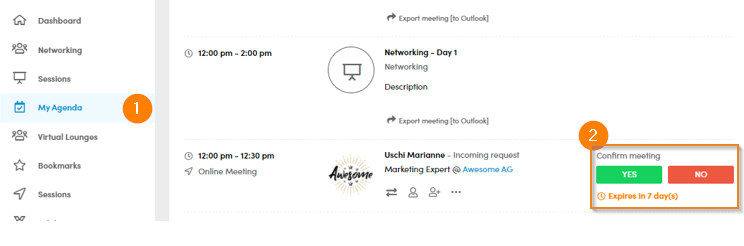
6.1 Incoming incoming requests may be required to be confirmed by recipient. To view Incoming Meeting Requests click My Agenda from the Dashboard menu.
6.2 Click Yes to confirm, or No to decline, an incoming meeting request. If confirmed, the meeting will be displayed on My Agenda as a scheduled meeting.
 |
7. Outgoing Requests:
7.1 Outgoing Meeting Requests may have to be accepted by the recipient in order for the meeting to be scheduled.
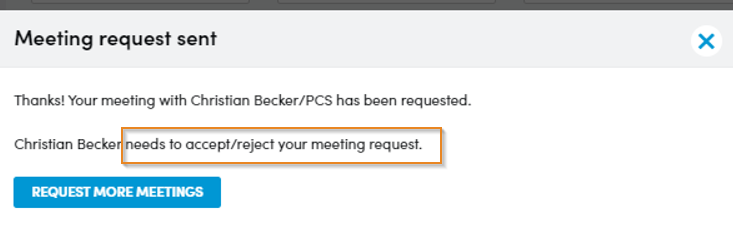 |
7.2 Until an Outgoing Meeting Request is confirmed or declined by the recipient, the request will be listed as pending and may expire after a certain window of time if left unconfirmed.
 |
7.3 An Outgoing Meeting Request that has been confirmed by recipient will be listed as Accepted on My Agenda, and as such, is a confirmed scheduled meeting.
 |
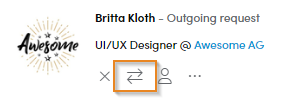
8. You can manage your Confirmed Scheduled Meetings through various functions displayed underneath the name of the meeting partner:
8.1 To change meeting timeslot, click the Two Arrow Icon.
 |
8.2 To move meeting to a another participating representative from your company, click the Person Icon.
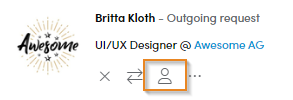 |
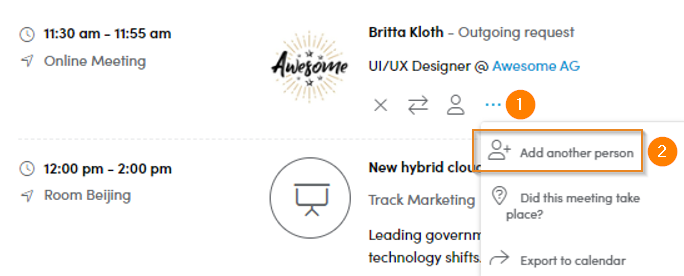
8.3 To add another participating representative from your company to the meeting, click […] then the Person Icon+ [Add another person].
 |
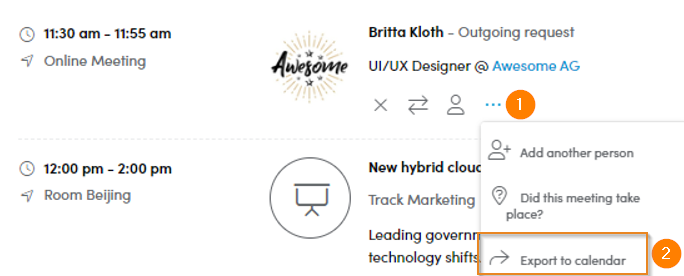
8.4 To download a *.ics file and export a meeting to your personal calendar, click […] then the Arrow Icon [Export to calendar].
 |
Note: Meeting Requests may expire if not confirmed within a certain time frame. Meeting requests do not always require confirmation, on all platforms.